 Bellingham
 Fiber Cement Siding Built for Birch Bay's Waterfront Exposure
Birch Bay sits directly on the water in northern Whatcom County, and that location puts more stress on exterior siding than almost anywhere else in the area. Salt-laden marine air rolls in off the bay year-round, wind-driven rain gets pushed sideways into wall assemblies during fall and winter storms, and a long moss and mildew season settles into shaded and north-facing walls for much of the year. Siding that performs fine a few miles inland can start failing here in a fraction of the time.
Fiber cement siding is one of the few products engineered to hold up under that combination of conditions, but only when it's the right formulation and it's installed correctly. This page covers what Birch Bay homes specifically need from a fiber cement siding job — the climate factors, the product details, our installation process, and what separates a job that lasts decades from one that starts showing problems within a few wet seasons.
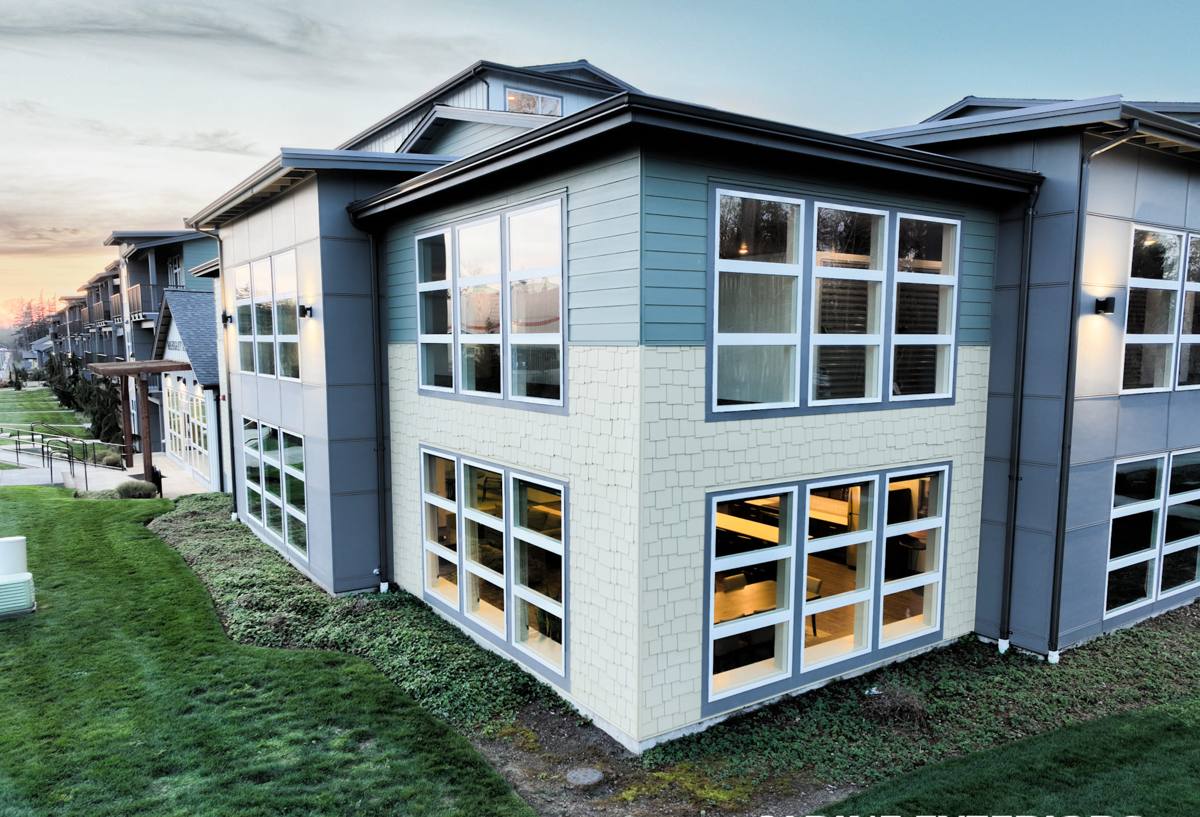
What This Coastline Does to Siding
Salt Air and Fastener Corrosion
Direct waterfront exposure means Birch Bay homes take on more salt in the air than most of Whatcom County. Salt accelerates corrosion in fasteners, flashing, and trim, and it breaks down lower-grade paint and coatings faster than a drier, more sheltered location would. Every fastener and piece of hardware behind a siding installation needs to be chosen with that corrosion risk in mind, not just picked because it's what's on the truck.
Wind-Driven, Sideways Rain
Being on open water also means more wind, and wind-driven rain doesn't behave like a normal rainstorm. It gets forced sideways into siding joints, window and door flashing, and any gap in the drainage plane behind the panels. A siding system that relies on caulk and paint alone to keep water out — rather than a proper drainage path behind the cladding — is working against a heavier moisture load than the annual rainfall number for the region suggests.
A Long Moss and Mildew Season
Mild temperatures, shade, and near-constant dampness add up to moss and mildew growth that can persist across most of the year on shaded siding. Any material that's even slightly porous, or that holds moisture against its own substrate, becomes a growth surface over time. On most Birch Bay homes, the north-facing walls and anything shaded by trees or a neighboring structure need more attention than the sun-exposed sides.
Why We Install Only James Hardie Fiber Cement
We install James Hardie fiber cement exclusively — we don't offer LP SmartSide, vinyl siding, Cemplank, Allura, primed spruce, or cedar. That's a professional standard, not a sales pitch, and it comes from years of installing, inspecting, and repairing siding in exactly this kind of coastal, wet climate. Each of those other products has a legitimate place in the market, and plenty of homeowners elsewhere are happy with them. On a waterfront exposure like Birch Bay, though, we've made the call that we'd rather stand fully behind one system than offer a cheaper option that quietly shifts long-term maintenance risk onto the homeowner.
What Hardie Gets Right for This Climate
- Non-combustible core: Fiber cement doesn't feed a fire the way wood-based siding products can.
- Factory-applied ColorPlus finish: The color is baked on in a controlled factory process rather than brushed on in the field, which holds up longer against fading, chalking, and moisture intrusion than site-applied paint.
- HZ5 formulation for this region: Hardie's HZ5 product line is engineered for climates with heavy moisture exposure and freeze-thaw cycling — a close match for waterfront Whatcom County.
- Dimensional stability: Fiber cement doesn't swell, cup, or warp the way engineered wood siding can after repeated wet-season cycles.
- Transferable warranty: Hardie backs the product with a strong warranty structure, provided the installation follows their published specifications.
Matching the Right Hardie Product to the House
James Hardie makes several distinct product lines, and part of doing this correctly is matching the right one to the home rather than defaulting to whatever's easiest to install.
| Product | Typical Use | What It Offers |
|---|---|---|
| HardiePlank lap siding | Most full-wall installations | Traditional horizontal lap look, widest color and texture selection |
| HardiePanel vertical siding | Accent walls, gables, modern designs | Clean vertical lines, often paired with board-and-batten trim |
| HardieShingle siding | Accent areas, coastal and craftsman styles | Staggered or straight shingle profile without the moisture issues of wood shakes |
| HardieTrim boards | Corners, window and door casing, fascia | Matches the siding's stability and finish at every transition point |
What Correct Installation Actually Involves
Fiber cement only performs the way it's engineered to when it's installed to Hardie's published specifications, and that matters more on a waterfront lot than almost anywhere else in the region. Correct installation means the right fastener type and spacing, proper clearance from grade and roof lines, and — critically in a climate this wet — a drainage plane or rain-screen detail behind the panels so any water that does get past the cladding has somewhere to go besides the sheathing.
Details That Matter Most Here
- Corrosion-resistant fasteners driven to the correct depth, not overdriven or underdriven
- Factory-mitered or properly caulked joints at corners and butt seams
- Flashing that's correctly lapped at every window, door, and penetration
- A ventilated rain-screen gap behind the siding on wall sections with the heaviest wind and rain exposure
- Proper clearance between the bottom of the siding and grade, decks, and roof lines to keep splash-back and standing water away from the material
A Hardie board installed loosely, with the wrong fasteners, or without attention to drainage will still develop moisture problems on a lot like this — the material's engineering doesn't make up for shortcuts in the field. The installation is at least as important as the product itself.
Our Fiber Cement Siding Process
- On-site assessment: We inspect the existing siding, sheathing, and any trouble spots — particularly on shaded or north-facing walls where moss and moisture tend to concentrate first.
- Tear-off and sheathing check: Old siding comes off and we inspect the sheathing underneath for rot or soft spots before anything new goes on. Damaged sheathing gets repaired, not covered over.
- Weather-resistive barrier and drainage plane: We install a proper moisture barrier and, where the exposure calls for it, a rain-screen gap so water has a path to drain and dry rather than sitting against the wall.
- Panel installation to spec: HardiePlank, HardiePanel, or HardieShingle goes up following Hardie's fastening and clearance requirements, not shortcuts that speed up the crew's day.
- Trim, flashing, and joints: Corners, window and door casing, and all penetrations get flashed and finished before caulking, so water management doesn't rely on caulk alone.
- Final walkthrough: We review the completed work with the homeowner and confirm everything matches what was scoped.
Cost Factors for a Birch Bay Fiber Cement Siding Job
Every fiber cement siding job is priced around the specifics of the house, not a flat rate, and that's especially true on waterfront lots where drainage detailing adds real labor. The factors below are what actually move a bid up or down.
| Factor | Why It Affects the Job |
|---|---|
| House size and number of stories | More wall area and taller elevations mean more material and more staging or lift work |
| Condition of existing sheathing | Rot or moisture damage found during tear-off needs repair before new siding goes on |
| Wall complexity and trim detail | Dormers, multiple gables, and heavy trim take more cutting, fitting, and flashing than a simple rectangular wall |
| Product line and texture selection | Lap width, smooth versus cedar-textured finish, and accent products like HardieShingle carry different material costs |
| Site access and exposure | Waterfront lots with limited staging space or heavier wind exposure can add time to the schedule |
Signs a Birch Bay Home May Need New Siding
- Moss or mildew staining on shaded walls that returns quickly after cleaning
- Soft, spongy, or bubbling spots near the base of exterior walls
- Cracked, warped, or delaminating boards, especially on north-facing sides
- Peeling paint or a chalky finish that no longer sheds water well
- Visible gaps or separation at trim, corners, and window flashing
- Rot at butt joints, corners, or anywhere siding meets a roof or deck line
- A noticeable draft or rising heating costs that point to a failing exterior envelope
Why Hire a Crew That Already Works in Birch Bay
Waterfront exposure isn't uniform even within a small area — which walls need the most drainage detail, how moss behaves on shaded lots, and how the county's permitting process handles exterior work are things that come from actually working this stretch of coastline, not from a general siding background. A crew that already knows Birch Bay's conditions makes fewer assumptions and catches problems, like a compromised drainage plane or corroding original fasteners, that a first-timer to this exposure might miss. That local familiarity, paired with an installation process built around Hardie's actual specifications, is what keeps a siding job performing for decades instead of needing attention again in a handful of wet seasons.
If your Birch Bay home's siding is showing wear, or you're planning ahead for a replacement, we're happy to take a look and walk you through what your home specifically needs. Reach out for a free, no-pressure estimate using the form below.