 Bellingham
 New-Construction Windows for Birch Bay Homes
Birch Bay sits right on the water, and that changes how a house should be built from the studs out. When you're framing a new home or a major addition here, the windows aren't just a finish item — they're one of the first lines of defense against salt-laden air, wind-driven rain off the Strait of Georgia, and the long gray stretch of moss season that runs most of the year in Whatcom County. New-construction window installation gives us the chance to get the whole assembly right: flashing, water-resistive barrier integration, sill pans, and fastening schedule, before siding ever goes on. Get it right at this stage and you avoid the leaks, rot, and warranty headaches that show up five or ten years down the road.
We install new-construction windows on Birch Bay builds regularly, working alongside builders and sometimes directly with homeowners managing their own project. This page covers what we look at, what a correct install actually involves, and why the sequencing matters so much this close to the water.
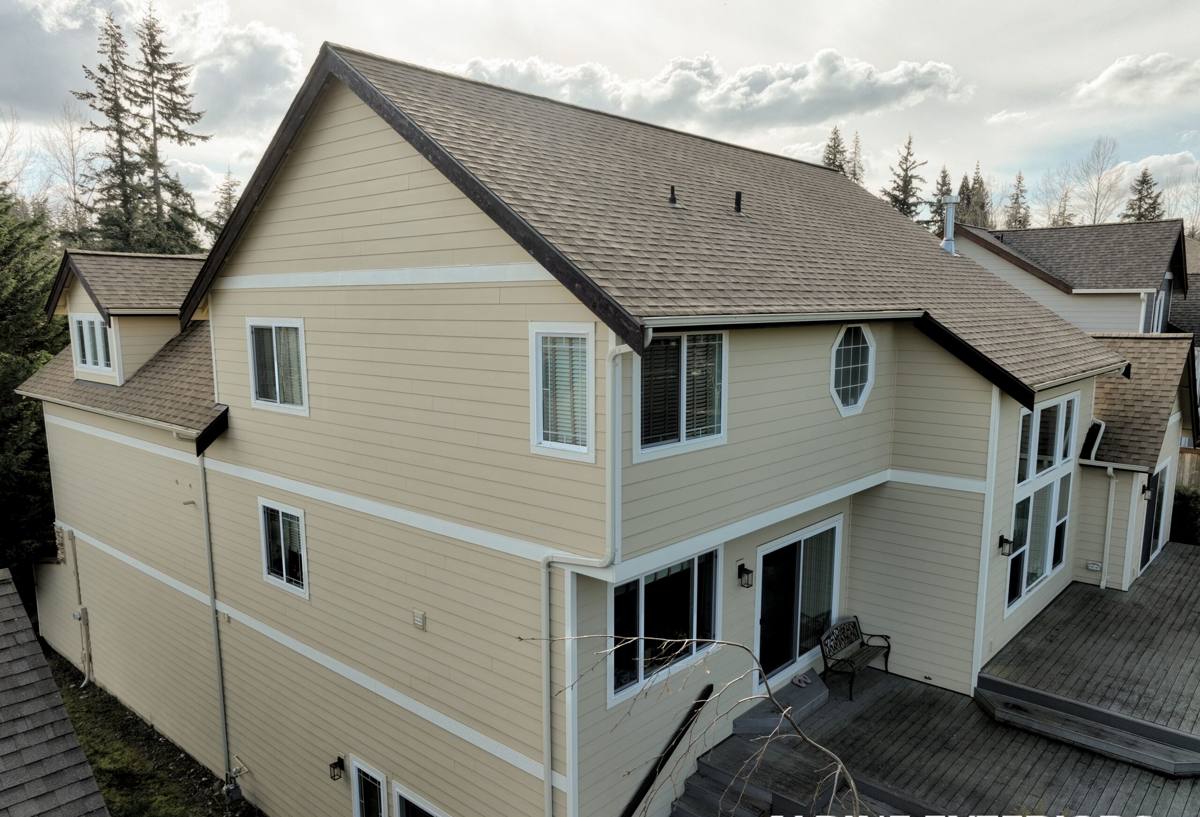
Why Birch Bay's Climate Changes the Install
Birch Bay isn't just "coastal Washington" in the generic sense. It's a specific combination of conditions that stresses windows and their surrounding assemblies in ways inland Whatcom County homes don't deal with as much:
- Salt air corrosion — window hardware, screen frames, and exposed fasteners near the water corrode faster than the same products a few miles inland. Cheap or mismatched fasteners fail early.
- Wind-driven rain — storms coming off the water push rain sideways into wall assemblies, which means flashing details that rely on gravity alone aren't enough.
- Sustained moisture and moss season — long stretches of damp, low-sun weather keep exterior surfaces wet longer, so any small gap in the water-resistive barrier stays wet longer too, giving rot and mold more time to establish.
- Temperature swings between marine layer mornings and clearer afternoons — this causes more expansion and contraction cycling at the window-to-wall joint than a stable inland climate would.
None of this means Birch Bay needs exotic materials. It means ordinary best practices — proper flashing sequence, correct sealant, adequate drainage — can't be skipped or shortcut the way they sometimes get away with in drier parts of the state.
What This Means for Product Selection
For new construction this close to the water, we generally steer homeowners toward vinyl or fiberglass window frames with corrosion-resistant (often stainless or coated) hardware, and away from bare or poorly coated aluminum hardware that will pit and streak within a few seasons. This is a maintenance and longevity call, not a knock on any one manufacturer — every window product has trade-offs, and the right one depends on your budget, the home's design, and how much upkeep you want to sign up for.
What a Correct New-Construction Install Involves
"New-construction" windows have a nailing fin and get installed before the siding, as opposed to "replacement" or "pocket" windows that get inserted into an existing frame. Doing it right, in order, looks like this:
- Rough opening check — verify the opening is square, plumb, and sized correctly with proper tolerance around the window unit.
- Sill pan flashing — install a sloped, sealed sill pan so any water that gets past the window has a path back outside instead of soaking into the framing.
- Window-resistive barrier (WRB) integration — the WRB (housewrap or equivalent) needs to lap correctly with the flashing at the sides and head, following a shingle-style sequence so water always drains down and out, never into a seam.
- Setting the window — level, plumb, and square in the opening, fastened per the manufacturer's schedule, not "close enough."
- Flashing tape at jambs and head — sealing the nailing fin to the WRB with a flashing tape rated for the temperature range and UV exposure it'll see before siding covers it.
- Head flashing — a drip cap or head flashing above the window that sheds water around the top corners, which is where wind-driven rain does the most damage if it's missing or installed backward.
- Backer rod and sealant at the interior and exterior trim lines — sized and installed correctly so the joint can move with temperature swings without cracking the seal.
Every one of these steps matters on its own, but they only work as a system. A perfect sill pan doesn't help if the WRB above it laps the wrong direction. This is why we treat new-construction window flashing as a sequence to inspect at each stage, not a single task to check off.
Our Process on Birch Bay Builds
1. Plan Review and Product Selection
We look at the building plans, window schedule, and wall assembly before anything is ordered. On a Birch Bay lot, we'll talk through frame material, glazing package, and hardware finish with the corrosion and moisture exposure in mind, and flag anything in the plans that could create a flashing problem later (deep window wells, unusual trim details, etc.).
2. Coordination with the Builder's Schedule
New-construction windows go in at a specific point in the build sequence — after the WRB is up, before siding starts. We coordinate directly with the general contractor or framer so the opening is ready, dry, and inspected before we set anything.
3. Flashing and Installation
We follow a consistent flashing sequence on every opening: sill pan, window set, jamb flashing, head flashing, WRB integration. This isn't something we vary house to house — consistency here is what prevents callbacks.
4. Pre-Siding Inspection
Before siding closes up the wall, we do a final check on every window opening — flashing laps, sealant lines, and fastening. This is the last point where a mistake is cheap to fix. Once siding is on, the same fix means removing finished exterior material.
5. Final Walkthrough
Once the exterior is complete, we walk the finished windows with the homeowner or builder, checking operation, seals, and trim.
Comparing Frame Materials for a Coastal Build
| Frame Material | Salt Air / Moisture Behavior | Maintenance | Typical Cost Position |
|---|---|---|---|
| Vinyl | Good — doesn't corrode; UV-stable formulations hold up well near the water | Low — occasional cleaning | Lower to mid-range |
| Fiberglass | Very good — dimensionally stable, resists moisture-driven warping | Low | Mid to upper-range |
| Wood (unclad) | Poor exposed to salt air and driving rain without diligent upkeep | High — regular refinishing needed | Mid to upper-range |
| Wood-clad | Depends heavily on cladding integrity and installation quality at joints | Moderate | Upper-range |
| Bare/mill-finish aluminum | Poor — pits and corrodes noticeably faster this close to salt water | Moderate to high | Lower to mid-range |
This is a general comparison, not a recommendation of one brand over another. The right choice depends on your home's design, your budget, and how much maintenance you're willing to take on over the life of the windows.
Common Mistakes We See (and Fix Before They're Sealed Up)
- WRB lapped the wrong direction at the window head, which funnels water into the wall instead of away from it.
- Missing or undersized sill pan, leaving the rough sill exposed to any water that gets past the window.
- Flashing tape applied to a dirty or damp surface, which fails to bond and can peel loose within a year or two.
- Sealant used as the primary water barrier instead of as backup to proper flashing — sealant alone always fails eventually.
- Fasteners that don't match the exposure — standard coated screws in a spot that needed stainless.
Every one of these is invisible once siding is installed, which is exactly why the inspection has to happen before that siding goes up, not after a leak shows up inside.
Homeowner Checklist Before Windows Go In
- Confirm the window schedule matches what's actually being ordered (size, operation type, glazing package).
- Ask your contractor what flashing tape and sill pan products they use and why.
- Confirm who is responsible for the WRB-to-window integration — this sometimes falls into a gap between framer and window installer.
- Request a pre-siding photo or walkthrough of the flashing before it's covered.
- Clarify the manufacturer's warranty terms and what voids them (often improper installation does).
Why Hire a Crew That Already Works Birch Bay
New-construction window installation done wrong doesn't usually show up as a problem on day one. It shows up as a stain on an interior wall two winters later, after moss season and a few good windstorms have had time to find every weak point in the flashing. A crew that installs windows regularly along the Whatcom County coastline already knows where those weak points tend to be — head flashing that skips a proper drip edge, sealant that's asked to do a flashing detail's job, hardware that wasn't rated for salt exposure. That's knowledge you don't get from a spec sheet; you get it from doing the work in this specific environment, repeatedly, and seeing what holds up.
If you're planning new construction or a major addition in Birch Bay, we're happy to take a look at your plans, talk through window and hardware options for your site's exposure, and walk you through how we'd sequence the flashing and installation. Reach out for a free, no-pressure estimate using the form below.