 Bellingham
 Birch Bay Siding Takes a Different Kind of Beating
Birch Bay sits right on the water, and that changes what "normal wear" looks like on a house. Homes a few miles inland in Bellingham deal with plenty of rain, but Birch Bay siding also has to shrug off salt-laden air blowing in off the water, driving rain that hits gable ends and window trim at an angle instead of straight down, and a moss season that can run most of the year in the shaded, damp spots between houses. That combination doesn't just make siding look tired faster — it actively works on the material, the fasteners, and the seams behind the surface.
Salt air is corrosive to metal fasteners and trim flashing long before most homeowners notice anything wrong with the siding panels themselves. Driving rain finds every gap in caulking and flashing and pushes water sideways into places it was never supposed to reach. And moss holds moisture against the siding surface for weeks at a time, which is a slow but steady problem for any material that isn't built to handle sustained damp contact. Repair work in this neighborhood has to account for all three, not just patch the visible damage and move on.
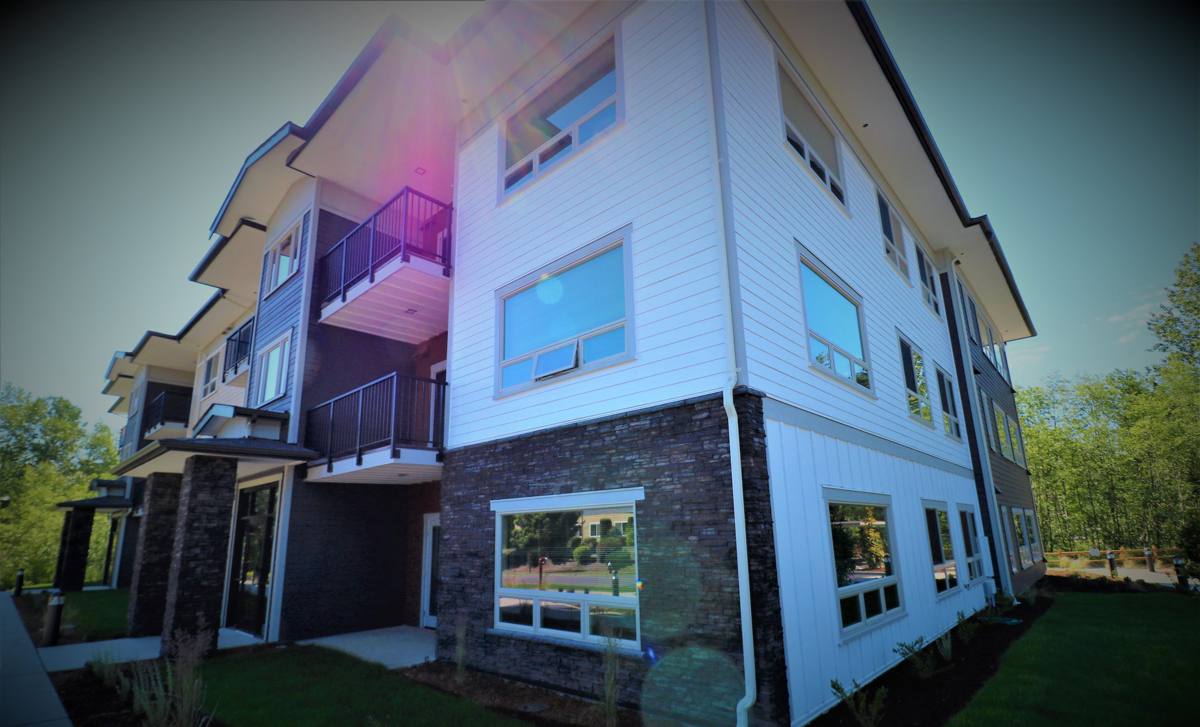
Signs Your Siding Needs Repair — Not Just a Look
Most siding problems in Birch Bay don't show up as one obvious failure. They show up as a handful of small signals that are easy to dismiss individually but mean something when you see two or three together.
- Soft or spongy spots when you press on a panel, especially near the bottom courses or around window and door trim
- Dark streaking or discoloration that doesn't wash off, particularly on north- and west-facing walls where moss and shade linger longest
- Caulk lines that have pulled away, cracked, or shrunk at panel joints and trim edges
- Visible fastener corrosion — rust streaks bleeding down from nail or screw heads
- Panels that have started to cup, bow, or separate slightly from the wall
- Peeling or bubbling paint, which often points to moisture trapped behind the siding rather than a paint problem on its own
Any one of these can be a straightforward repair if it's caught early. Left alone through another wet winter, most of them turn into sheathing damage, which is a bigger and more expensive job.
What a Correct Repair Actually Involves
A repair that actually holds up in this climate is more than swapping out a damaged board. It means pulling back enough of the surrounding siding to see what's happening underneath — checking the house wrap or building paper for tears, checking flashing at windows and penetrations, and confirming the sheathing hasn't gone soft before anything new goes back up. Fastening matters as much as the board itself: in a salt-air environment, corrosion-resistant fasteners rated for the exposure aren't optional, they're the difference between a repair that lasts and one that starts rusting through in a few seasons.
Matching also matters more than people expect. A patch that doesn't match the existing plank's exposure, profile, and finish sticks out visually and can create a slightly different water path than the rest of the wall. On a coastal property, we treat every repair as a chance to check the surrounding field for early damage too — because if moisture got behind one section, it's often working on the boards next to it as well.
Common Repair Scenarios We See in Birch Bay
| Situation | Likely Cause | Typical Fix |
|---|---|---|
| Bottom courses soft or crumbling | Splash-back from grade, poor drainage, or missing kick-out flashing | Replace affected boards, correct drainage/flashing detail, re-fasten with corrosion-resistant hardware |
| Dark, persistent staining on shaded walls | Extended moss and algae growth holding moisture against the surface | Clean, inspect substrate for softening, repair or seal as needed |
| Cracked or gapped caulk at trim and joints | UV exposure plus wind-driven rain working joints open over time | Remove old caulk, inspect for water intrusion, re-seal with proper joint prep |
| Rust streaking below fasteners | Fasteners not rated for salt-air exposure | Remove and replace with corrosion-resistant fasteners; patch cosmetic staining |
| Panel separation or bowing | Moisture cycling behind the panel, often from a failed flashing detail | Open the area, correct the water path, replace affected boards |
Why We Repair Using James Hardie Fiber Cement
We install and repair with James Hardie fiber cement exclusively — we don't work with vinyl, LP SmartSide, Cemplank, Allura, or unfinished wood siding like primed spruce or cedar. That's a deliberate standard, not a limitation. Vinyl can warp and fade under sustained sun and temperature swings, and it doesn't hold paint if a homeowner ever wants a different look down the road. Wood-based and engineered wood products need consistent maintenance to keep moisture from getting into the substrate, which is a tough ask in a climate that stays damp for months at a stretch. Fiber cement's advantage in a place like Birch Bay is straightforward: it's non-combustible, it's dimensionally stable in wet-dry cycling, and Hardie's HZ5 product line is engineered specifically for the freeze-thaw and moisture demands of climates like the Pacific Northwest coast.
When we repair a Hardie wall, we're also repairing into a system with a factory-applied ColorPlus finish and a manufacturer warranty — so a well-matched repair doesn't just look right, it keeps the wall's protection consistent. When we repair a wall that was never Hardie to begin with, we'll tell you honestly what your options are: patch the existing material as a stopgap, or use the repair as the moment to transition that section — or the whole elevation — to fiber cement.
Our Repair Process
- On-site inspection. We look at the damaged area and the surrounding field, checking fasteners, flashing, and caulk lines, not just the obvious spot.
- Diagnosis, not guesswork. We identify whether this is a surface issue or a sign of water getting behind the siding, and we tell you which one it is before we start.
- Scope and honest estimate. You get a clear explanation of what needs to happen, what it costs, and why — including if a repair isn't the right long-term answer.
- Correct the water path first. Flashing, house wrap, and drainage details get fixed before any new siding goes back on. A repair over an unresolved water problem doesn't last.
- Match and install. Replacement boards are matched for profile and finish, fastened with corrosion-resistant hardware suited to coastal exposure.
- Final check. We walk the repaired section and the adjacent siding with you before calling the job done.
Repair vs. Replace: What Actually Drives the Decision
| Factor | Favors Repair | Favors Replacement |
|---|---|---|
| Extent of damage | Isolated to one or two sections | Spread across multiple walls or elevations |
| Sheathing condition | Solid, no soft spots found | Soft, rotted, or previously repaired multiple times |
| Age of existing siding | Relatively young, otherwise sound | Near or past its expected service life |
| Material match | Close match available | Discontinued profile/color, poor match likely |
| Root cause | Localized, fixable flashing/fastener issue | Systemic moisture or drainage problem behind the wall |
There's no universal rule here — it depends on what we find once the affected area is opened up. We'd rather tell you a repair is the right call and charge you less than talk you into a replacement you don't need yet.
Questions to Ask Before You Hire Anyone for Siding Repair
- Will you check what's behind the damaged siding, or just patch what's visible?
- What fasteners are you using, and are they rated for coastal/salt-air exposure?
- How will the repaired section be matched to the existing siding?
- Do you carry manufacturer certification for the material you're repairing with?
- What's your plan if you find sheathing damage once the wall is opened up?
- Can you show me examples of repair work you've done in this area specifically?
Why a Crew That Already Works Birch Bay Matters
Siding repair done by a contractor unfamiliar with coastal Whatcom County conditions tends to treat every job like an inland repair — patch the board, caulk the gap, done. A crew that regularly works Birch Bay knows to check fastener corrosion as a matter of course, knows which wall orientations hold moss longest, and knows that driving rain off the water finds angles that a straight-down rainstorm never would. That local pattern recognition is what keeps a repair from becoming a callback six months later.
If you're seeing soft spots, staining, or gaps in your siding, we're happy to take a look and give you a straight answer about what's going on and what it'll take to fix it. Reach out for a free, no-pressure estimate — there's a form below to get started.