 Bellingham
 Building New-Construction Windows That Actually Hold Up in Puget
If you're framing a new home or an addition in the Puget area near Bellingham, the windows are one of the few parts of the building envelope you only get to install correctly once. Once siding, trim, and interior finish go on around a window opening, fixing a bad flashing job means tearing back finished work. We install new-construction windows for builders and homeowners in this part of Whatcom County who want the opening done right the first time, with materials and details sized to what this coastline actually throws at a house.
Puget's setting near the water means homes here deal with a specific combination of stresses: salt-laden air off the Sound, wind-driven rain that hits window walls sideways instead of straight down, and a long stretch of the year where shade, moisture, and cool temperatures create ideal conditions for moss and algae growth on anything that stays damp. None of that is exotic or rare — it's just constant, and constant is what wears out a poorly sealed window opening years before it should fail.
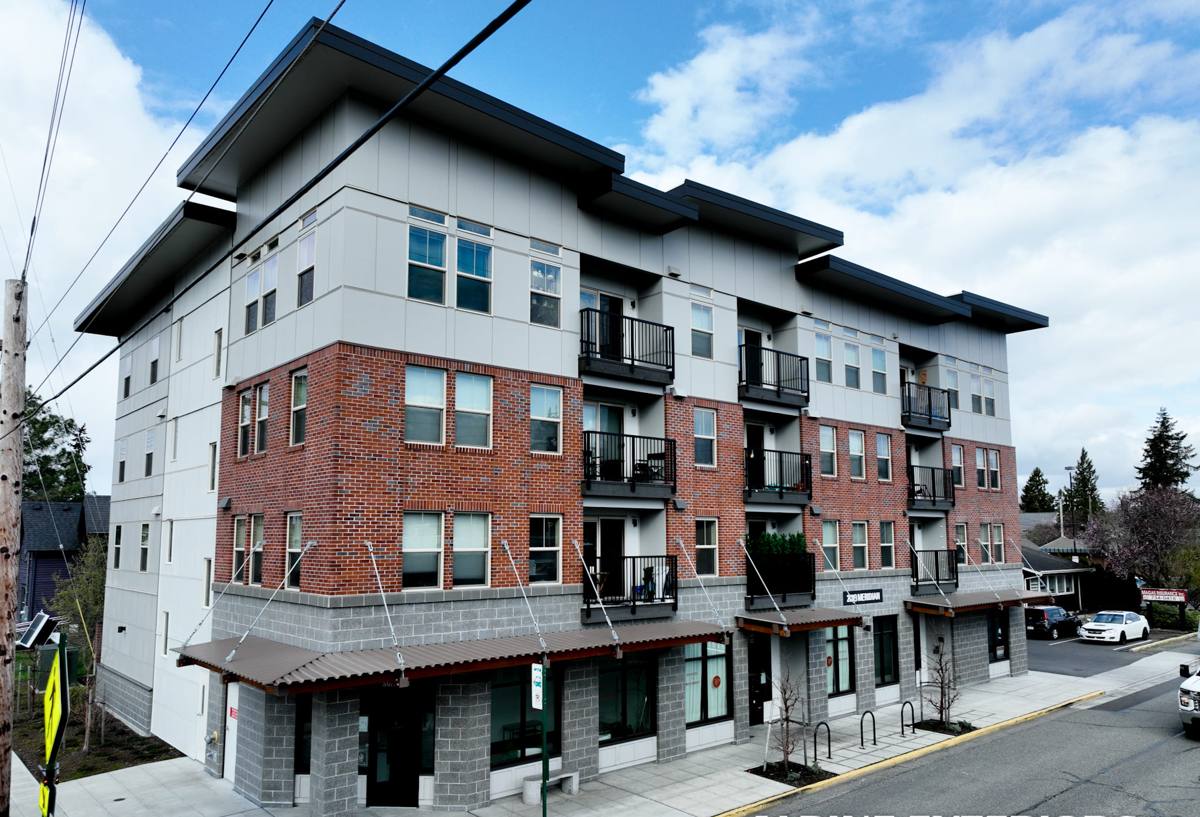
New-Construction vs. Replacement: Why the Distinction Matters
New-construction windows are built with a nailing fin around the perimeter of the frame, meant to be installed into a rough opening before siding goes on, then integrated into the home's water-resistive barrier (house wrap) and flashing system from scratch. Replacement windows, by contrast, are designed to fit inside an existing frame with the old exterior finish left in place. These are not interchangeable products, and using the wrong one — or installing a new-construction window using replacement techniques because that's what a crew is used to — is one of the most common ways a new build ends up with a leak nobody catches until interior damage shows up.
On a true new build or addition, doing it right means:
- Rough openings framed to the correct size and squared before the window ever arrives on site
- House wrap sequenced and lapped correctly around the opening before the window goes in
- Flashing tape and pan flashing installed in the correct shingle-style order — sill first, sides next, head last
- The window itself shimmed, leveled, and fastened through the nailing fin per manufacturer spec
- Sealant and flashing tied into the broader water management plan for the whole wall, not treated as an isolated task
Skipping or reordering any of these steps doesn't usually cause an immediate problem — it causes a slow one, which is worse, because it's already behind the siding by the time it shows up.
What Bellingham's Climate Actually Does to a Window Opening
Three things matter most for a window install in this specific area, and they compound each other.
Wind-driven rain
Rain that falls straight down is easy to shed. Rain pushed sideways by wind off the water finds every gap in a flashing lap, every unsealed fastener, every spot where house wrap wasn't lapped in the right direction. A window opening built for a drier or calmer climate simply isn't tested the same way a Puget-facing wall is.
Salt air
Airborne salt accelerates corrosion on fasteners, hardware, and some metal flashing and trim products faster than it would inland. It also breaks down certain sealants and finishes over time. This is a material-selection issue as much as an installation one — the wrong screws or flashing metal in a salt-air environment can start showing corrosion well before the rest of the window shows its age.
Moss season
Whatcom County's long, mild, damp stretch of the year is exactly what moss and algae need to establish. On a window install, this shows up around sills, in horizontal trim details, and anywhere water is allowed to sit rather than shed. A correctly sloped sill and properly integrated flashing keep water moving off the window instead of sitting on it — which is also what keeps moss from getting a foothold in the first place.
The Install Details That Separate a Correct Job From a Callback
Most of what makes a window install succeed or fail long-term is invisible once the job is finished. Here's what we pay attention to on every opening:
Flashing sequence
Water has to be directed out and down at every layer, shingle-style, so a leak at any single point still drains outward rather than into the wall cavity. This is the single most common thing we find done out of order on openings we're asked to fix.
Sill pan installation
A sloped, sealed sill pan under the window gives incidental water — the water that gets past the sash and glazing over the life of the window — somewhere to go besides straight down into the framing.
Fastening and shimming
A window that isn't shimmed correctly can bind, fail to seal against its own weatherstripping, or rack out of square as the building settles. Fastening through the nailing fin per the manufacturer's schedule also matters for the warranty — most manufacturers will not honor a warranty claim if the install didn't follow their fastening pattern.
Sealant selection and placement
Not every sealant is rated for the same movement, UV exposure, or temperature range, and sealant is not a substitute for correct flashing — it's a backup, not the primary water barrier. We use sealant where it belongs in the assembly, not as a patch for a flashing detail that was skipped.
Frame Material Comparison for a Salt-Air, High-Rain Climate
Frame material choice matters more here than in a drier, inland climate. Below is how the common options generally perform under Puget's specific conditions — salt exposure, sustained moisture, and UV.
| Frame Material | Moisture/Salt-Air Behavior | Maintenance | Typical Trade-offs |
|---|---|---|---|
| Vinyl | Doesn't corrode or rot; performs well in salt air | Low — occasional cleaning | Can't be repainted easily; limited color range |
| Fiberglass | Very stable in moisture and temperature swings; low expansion/contraction | Low to moderate | Higher upfront cost than vinyl |
| Aluminum-clad wood | Good exterior protection if cladding and flashing are correct; interior wood still needs protection from any moisture intrusion | Moderate | More installation-sensitive; a flashing mistake affects hidden wood |
| Bare wood | Requires diligent finishing and maintenance to resist this climate's moisture load | High | Best appearance option for some homeowners, but highest ongoing upkeep in a wet climate |
We'll talk through these trade-offs honestly based on the specific elevation, sun exposure, and design of your project rather than pushing one product line for every opening.
Our Process, Start to Finish
On a new-construction job, we prefer to be involved before framing is finalized, not just when it's time to set windows.
- Plan review and rough opening verification — confirming sizes, header heights, and flashing details match the window specs before framing is locked in
- Material selection — walking through frame material, glazing package, and hardware options suited to the home's exposure to wind and water
- Sequencing with the builder — coordinating with the house wrap and siding schedule so windows go in at the right point in the build, not rushed ahead of or behind the water-resistive barrier
- Installation — sill pan, flashing, shimming, fastening, and sealant applied in the correct order, per manufacturer instructions
- Documentation and walkthrough — reviewing the finished openings with the builder or homeowner before siding closes them in for good
That last step matters more than people expect. Once siding goes up, the flashing details are hidden for the life of the house — this is the last point where anyone can actually verify the work.
Cost Factors on a New-Construction Window Job
Pricing on new-construction windows depends on more than the window unit itself. Broad factors that move the number:
| Factor | Why It Affects Cost |
|---|---|
| Frame material | Vinyl, fiberglass, and clad-wood windows sit at different price points before labor |
| Window size and configuration | Larger units, multi-unit combinations, and operable-vs-fixed mixes change both material and install labor |
| Wall height and access | Second-story or hard-to-access openings take longer to flash and set safely |
| Flashing and sill pan complexity | Custom sill details or non-standard rough openings add labor time |
| Coordination with the build schedule | Jobs sequenced cleanly with framing and house wrap generally cost less than ones requiring rework of already-installed wrap |
We'll always give a written estimate broken down enough that you can see what's driving the number, rather than a single lump figure.
A Pre-Install Checklist Worth Reviewing
Whether you're a homeowner working with a builder or managing the project yourself, these are worth confirming before windows go in:
- Rough openings are square, plumb, and sized to the actual window schedule — not assumed from the plans
- House wrap is on and lapped correctly before window installation begins
- Sill pan flashing is specified and included in the install, not treated as optional
- Frame material and hardware are appropriate for a salt-air, high-rainfall coastal climate
- The installer will document flashing and sealant work with photos before siding covers it
- Manufacturer fastening and warranty requirements are being followed, not just "close enough"
Why a Crew That Already Works Puget Matters
A window that's installed correctly for a dry inland climate can still fail here — not because the installer did bad work by their own standards, but because Puget's combination of wind-driven rain, salt air, and a long moss season demands more from the flashing detail, the sealant choice, and the frame material than a generic install spec accounts for. We work new-construction window openings throughout the Bellingham and Whatcom County area regularly, which means we're not guessing at how this coastline behaves — we're building to it every time.
If you're planning a new build or addition in the Puget area and want windows installed right the first time, we're happy to walk the plans with you and put together a free, no-pressure estimate. There's a form below to get that started.