 Bellingham
 Building Decks for Puget's Coastal Conditions
Puget sits close enough to the water and the weather that comes off it that a deck built to a generic spec sheet won't hold up the way it should. Homes here deal with salt-laden air moving in off Bellingham Bay, long stretches of driving rain through the fall and winter, and shaded, damp conditions that keep moss and algae established on outdoor surfaces most of the year. A deck is exposed to all of it from every angle — top, bottom, and the framing in between — so the details that don't matter much in a drier inland climate matter a great deal here.
We build decks in this neighborhood the way the conditions demand, not the way a catalog assumes. That means specific choices around hardware, flashing, board spacing, and material selection, made before the first post hole is dug.
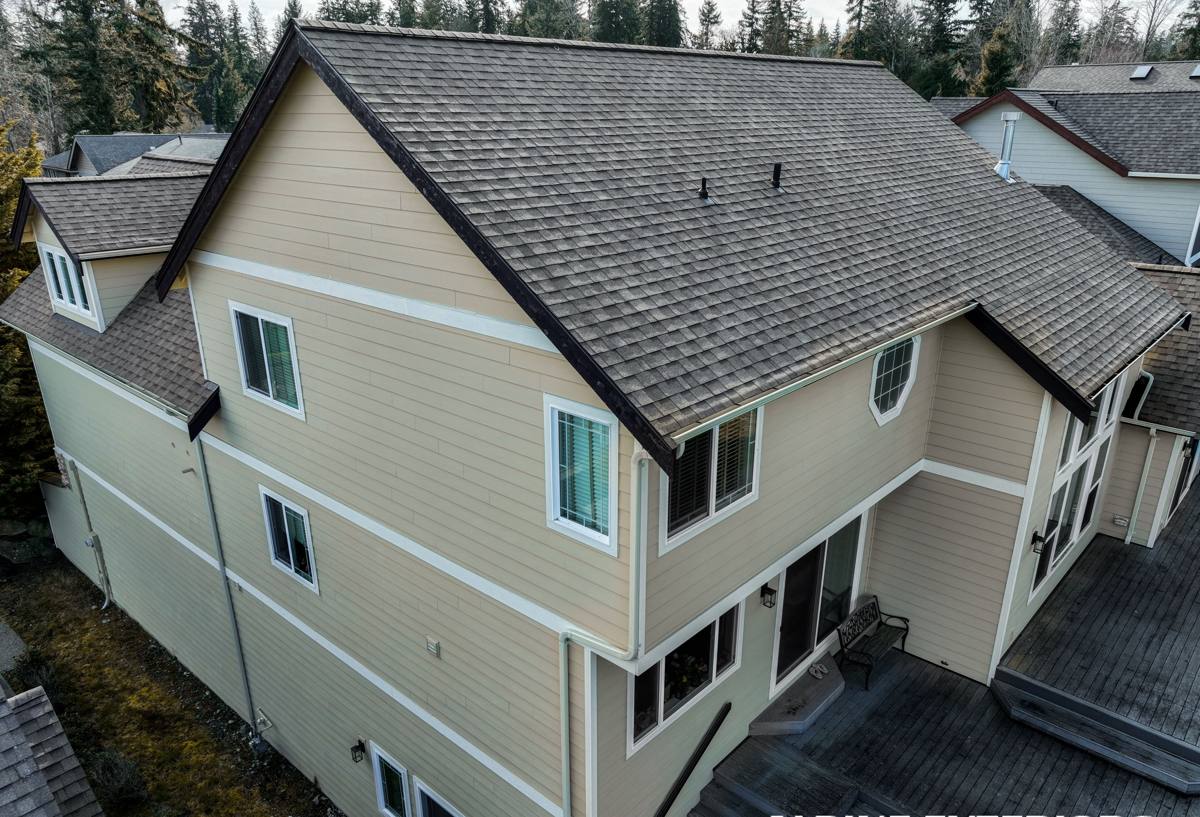
What Salt Air Does to a Deck Over Time
Salt-laden air accelerates corrosion on any exposed metal — fasteners, joist hangers, post bases, railing brackets. A screw or hanger rated for general use inland can start rusting within a few years this close to the water, and once a fastener corrodes it loses holding strength long before it looks obviously bad. That's a structural problem, not a cosmetic one.
Hardware We Spec for This Area
- Stainless steel fasteners for decking boards and ledger connections, not standard coated screws
- Hot-dip galvanized (not electro-galvanized) structural hardware for joist hangers, post bases, and hold-downs
- Corrosion-resistant railing hardware, especially on metal or cable railing systems
- Compatible metals throughout — mixing certain metal types accelerates corrosion at the connection point
None of this is exotic or expensive relative to the cost of the deck itself, but it's the kind of detail that gets skipped when a crew is used to building inland and doesn't adjust their material list for a coastal job.
Driving Rain and Where Decks Actually Fail
Most deck failures we see in this climate don't start with the decking boards — they start at the ledger board, the point where the deck attaches to the house. Driving rain pushes water sideways and upward under trim and siding, and if the ledger flashing wasn't done correctly, water works its way behind it and into the house rim joist. That's slow, hidden rot that can go unnoticed for years.
What Correct Ledger Flashing Involves
- A proper flashing profile that directs water out and away from the house, layered correctly with the house's existing water-resistive barrier
- A gap or flashing detail between the ledger and siding so water can't wick directly into the wall assembly
- Lag bolts or through-bolts sized and spaced for the actual load, not just enough to hold the ledger in place temporarily
- Sealant used as a backup, never as the primary water barrier
The same logic applies to any point where the deck meets the house — stair stringers, skirting, or a roof over the deck. Water needs a planned path away from the structure, not just hope that it runs off.
Moss, Algae, and Deck Design
Long moss season is one of the most underestimated issues for decks in this area. Moss and algae need moisture and shade to establish, and a lot of Puget properties have both — tree cover, north-facing exposures, and long stretches of damp weather that never fully dry the deck surface out. Once moss takes hold on decking boards it holds moisture against the wood or composite surface, and on wood decks specifically it can accelerate surface decay.
Design Choices That Reduce the Problem
- Correct board spacing so water drains through rather than pooling on the surface
- Adequate under-deck ventilation so the framing and board undersides can dry out between rain events
- Decking orientation and layout that accounts for the property's actual sun and shade pattern, not a standard default
- Material selection that matches how much shade and moisture the specific deck location will see
None of this eliminates moss entirely in a climate like this — that's a maintenance reality of living here, not a failure of the deck. But a deck designed with drainage and airflow in mind needs far less scrubbing and lasts longer between it than one that wasn't.
Choosing the Right Decking Material
There's no single right answer here — it depends on budget, how much upkeep the homeowner wants to do, and how exposed the deck location is to shade and moisture. We lay out the honest trade-offs rather than pushing one product.
| Material | Moisture & Moss Behavior | Maintenance | Typical Lifespan Here |
|---|---|---|---|
| Pressure-treated lumber | Resists rot with proper sealing; moss can establish on the surface if not cleaned periodically | Needs re-staining/sealing every 2-3 years in this climate | 15-20+ years with upkeep |
| Cedar | Naturally more rot-resistant than untreated wood; still needs sealing to shed water well | Regular sealing/staining; shows weathering faster if neglected | 15-20 years with upkeep |
| Composite decking | Doesn't rot, but algae and moss can still grow on the surface film in persistently shaded, damp spots | Periodic washing; no staining or sealing required | 25-30 years, per manufacturer warranty terms |
Composite is a solid choice for shaded, low-maintenance-preference situations, but we're upfront that "low maintenance" doesn't mean "no maintenance" in this climate — surface cleaning is still part of ownership. Wood costs less upfront and can look great, but only holds up if the sealing schedule actually gets kept.
Structure, Footings, and Code Basics
The framing underneath a deck matters more than the decking on top of it, and it's the part that's hardest to fix later. Footings need to be sized and set to local frost depth and soil-bearing requirements, posts need correct bracing, and beam and joist spans need to match the actual load and species/grade of lumber used — not a rough guess.
What a Correct Build Includes
- Footings set to the depth and bearing capacity the site and code require
- Post-to-beam and beam-to-joist connections using rated hardware, not just nails
- Guardrails and stair railings built to current code height and baluster-spacing requirements
- Permits pulled and inspections scheduled where the jurisdiction requires them
Skipping the permit step is common on smaller deck projects, but it also means no third-party check on footing depth, ledger attachment, or railing safety — the exact items that matter most for a structure people stand on.
Our Process on a Puget Deck Project
- Site visit and assessment — we look at sun/shade exposure, drainage patterns, soil conditions, and how the deck will attach to the house
- Design and material selection — layout, decking material, and hardware chosen for the specific site conditions, not a standard package
- Permitting — we handle the permit application and coordinate required inspections
- Footings and framing — footings, posts, beams, and joists built to the engineered or code-required spec
- Ledger and flashing details — the connection point to the house gets the flashing and fastening detail this climate requires
- Decking, railing, and finish work — boards installed with correct spacing, railings set to code, final grading checked so water moves away from the structure
We don't treat any of these steps as optional shortcuts, even on smaller deck projects — the framing and flashing decisions made early are the ones that determine whether the deck is still solid in fifteen years.
Maintaining a Deck Once It's Built
Ownership in this climate isn't zero-effort, regardless of material. A little regular attention prevents most of the problems we get called out to fix later.
- Sweep debris off the deck surface regularly, especially in fall when leaves and needles trap moisture
- Wash the surface periodically to remove moss and algae before it establishes, especially in shaded areas
- Re-seal or re-stain wood decking on a 2-3 year cycle, sooner if water is no longer beading on the surface
- Check under-deck ventilation isn't blocked by stored items or overgrown landscaping
- Inspect ledger flashing and fastener condition every year or two, particularly after a hard winter
- Watch for soft spots, popped fasteners, or discoloration near the house connection — early signs worth addressing before they spread
Why a Crew That Already Works This Neighborhood Matters
A deck built by a crew that hasn't worked coastal Whatcom County conditions before tends to use inland-standard hardware, skip the extra flashing detail, or underestimate how much shade and moisture a specific spot on the property actually gets. Those aren't dramatic mistakes — they're the kind that show up as a soft ledger board or corroded hardware five or eight years down the line, after the crew that built it is long gone.
We build and maintain decks in this area regularly, which means the hardware and flashing choices described above aren't an upsell — they're just what a deck here actually needs to hold up. It also means if a maintenance question comes up later, you're calling a crew that already knows the site.
Get a Free, No-Pressure Estimate
If you're planning a new deck or replacing an aging one in Puget, we're happy to take a look, walk the site with you, and put together a straightforward estimate — no pressure, no obligation. Use the form below to get started.