 Bellingham
 Building New in Sehome? The Windows Are Not a Detail to Rush
If you're framing a new home or a major addition in Sehome, the windows are one of the few components that get exactly one chance to be installed correctly. Once the siding, trim, and interior finish go on, a bad flashing detail or a poorly sealed nail fin is buried — and it usually doesn't announce itself until a wet winter two or three years down the road, when water starts showing up somewhere it shouldn't. Sehome's mix of established homes and newer infill construction, its hillside and near-campus lots, and its exposure to the weather patterns that move through Bellingham all mean the window install has to be done right the first time, not corrected later.
This page is specifically about new-construction window installation — setting windows into a framed opening before the exterior finish goes on — not swapping out old windows in an existing wall. The two jobs share a product category but almost nothing else in terms of process, and getting that distinction right matters for anyone building in this part of Whatcom County.
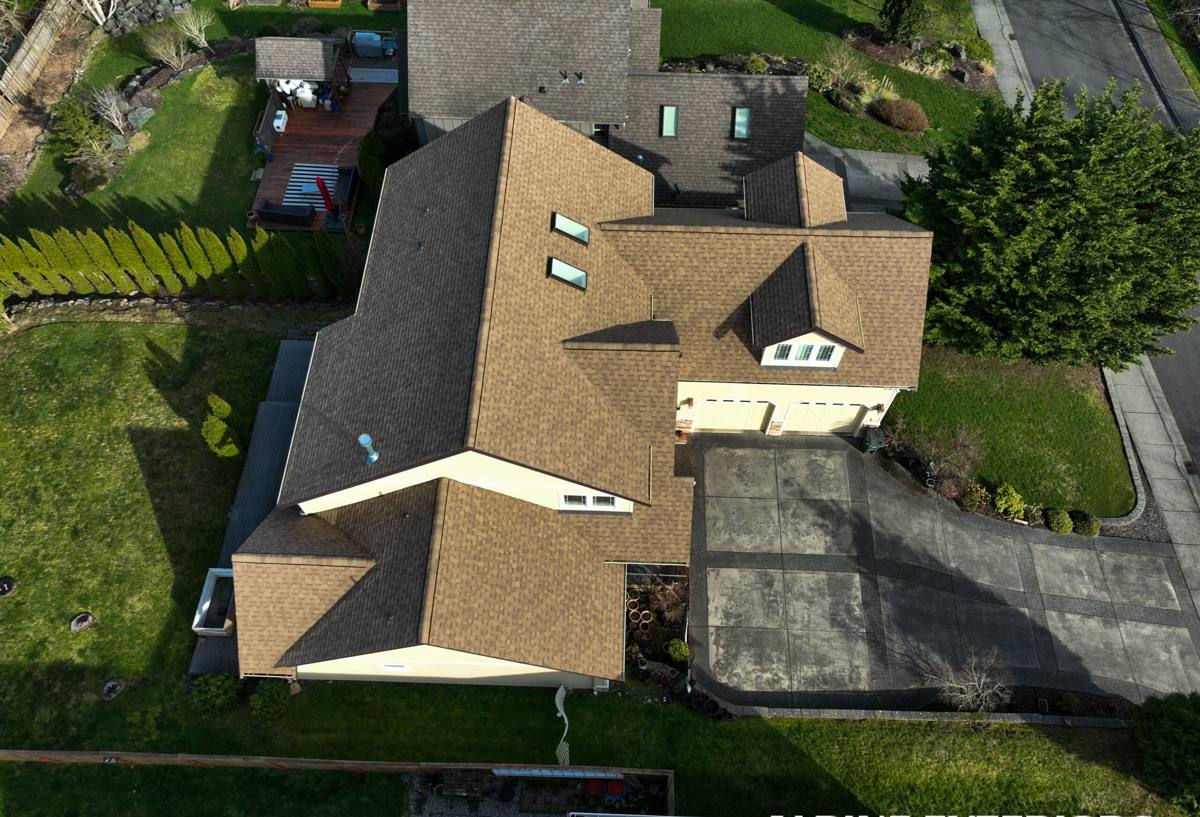
New-Construction Windows vs. Replacement Windows
New-construction windows are typically built with a nailing flange (also called a nail fin) around the perimeter of the frame. That flange gets fastened directly to the sheathing and integrated into the wall's weather-resistant barrier before any siding goes on. Replacement or "insert" windows, by contrast, are sized to fit inside an existing frame with no flange, because the surrounding wall and exterior finish already exist and can't be disturbed.
Why this distinction matters on a new build
On new construction, the window isn't just a product you set into a hole — it's part of the wall's water management system. The flange has to lap correctly with the weather-resistant barrier (WRB), the sill pan flashing, and the head flashing in a specific shingle-style sequence so that any water that gets past the siding is directed back out, not into the wall cavity. Get that sequence backwards or skip a step, and you've built a leak into the house before the drywall ever goes up.
What Bellingham and Whatcom County Weather Actually Demands
Sehome sits close enough to Bellingham Bay and the broader Salish Sea shoreline that new construction here deals with a specific combination of conditions: wind-driven rain, salt-laden air, and a wet season that runs long enough to grow moss on almost any north-facing or shaded surface that doesn't drain well. None of these are exotic problems, but each one changes how a window install should be detailed.
Driving rain
Rain in this region doesn't just fall straight down — storms coming off the water frequently push rain sideways against west- and south-facing walls. A window install that would hold up fine in a drier, calmer climate can leak here if the sill pan isn't sloped and lapped correctly, or if sealant is asked to do a flashing's job.
Salt air and corrosion
Coastal proximity means airborne salt settles on exterior hardware, fasteners, and metal flashing over time. Fastener and flashing material selection matters more here than it does inland — the wrong metal combination invites galvanic corrosion at exactly the joints that are supposed to be keeping water out.
A long moss season
Bellingham's mild, wet stretch from fall through spring gives moss and algae a long runway to establish on horizontal surfaces — window sills, sloped trim, and anywhere water sits instead of draining. A sill that isn't pitched correctly during installation becomes a moss and rot magnet within a few seasons, regardless of how good the window itself is.
Choosing Window Material and Frame for This Climate
There's no single "correct" window material — the right choice depends on budget, exposure, and how much upkeep you want to sign up for. Here's how the common options compare specifically for a wet, coastal-influenced climate like Sehome's:
| Material | How It Handles This Climate | Maintenance | Relative Cost Tier |
|---|---|---|---|
| Vinyl | Doesn't rot or corrode; performs well if installed with correct drainage | Low — occasional cleaning | Entry to mid |
| Fiberglass | Very stable in temperature swings and moisture; strong long-term option near the coast | Low | Mid to upper-mid |
| Aluminum | Durable but conducts cold and can corrode near salt air without proper coatings | Low, but coating/finish needs monitoring | Mid |
| Wood-clad | Attractive, but exposed end grain and joints are vulnerable if flashing details aren't precise | Higher — finish and joints need periodic attention | Upper |
We'll talk through these trade-offs honestly during your estimate rather than pushing a single product. The bigger factor in long-term performance is almost always the quality of the installation and flashing detail, not which of these materials you pick.
The Installation Sequence That Actually Keeps Water Out
A correct new-construction window install follows a specific order. Skipping or reversing any step is the single most common cause of window-related water intrusion in new builds, far more often than the window product itself failing.
- Rough opening is checked for square, level, and correct dimensions before the window ever shows up on site.
- A sloped sill pan is installed at the bottom of the opening so any water that reaches it drains outward, not into the wall.
- The weather-resistant barrier is cut and prepped so it will properly lap over the window flange later — not just wrapped and taped after the fact.
- The window is set, shimmed level and plumb, and fastened per the manufacturer's schedule — not "close enough."
- Flashing tape and/or metal flashing is applied at the jambs and head in the correct shingle-lap order, so upper layers always overlap lower ones.
- Sealant is used where it's designed to be used — as a secondary defense, not as a substitute for proper flashing.
- The install is checked before siding covers it up, because that's the last point anyone can fix a mistake without tearing something open.
Sealant-only installs are the shortcut we see cause the most callbacks industry-wide. A bead of caulk can look fine on install day and still fail within a couple of wet seasons once it dries out, shrinks, or gets UV-stressed — which is exactly why flashing, not sealant, should be doing the primary work of keeping water out of the wall.
Working With Your Builder — How We Fit Into the Framing Schedule
New-construction window installs happen on a builder's timeline, not in isolation. We coordinate directly with the general contractor or framer on scheduling so windows go in at the right point — after the WRB is prepped and before siding starts — and we work from the same set of plans and window schedule the builder is using, so sizes, swing directions, and egress requirements all match what was designed and permitted. If you're the homeowner acting as your own GC on a Sehome build, we're used to filling that coordination role directly with you and with your framing crew.
Energy Code and Performance Requirements
New construction in Washington has to meet the state energy code's window performance requirements, which are typically expressed as a maximum U-factor (how much heat the window loses) and sometimes a solar heat gain coefficient depending on orientation and glazing area. Your architect or the building department will specify what's required for your project, and we confirm the window schedule matches those numbers before ordering — a mismatch caught after installation means pulling windows back out, which nobody wants.
A Practical Checklist Before You Order Windows
- Confirm rough opening sizes match the approved window schedule, not just the original plan set — framing tolerances happen.
- Decide on frame material based on exposure: west- and south-facing walls that take direct weather deserve extra attention to flashing detail regardless of material chosen.
- Confirm U-factor and any solar heat gain requirements with your energy code documentation before placing the order.
- Ask how sill pans will be detailed — this is the single biggest predictor of long-term dryness.
- Clarify who is responsible for WRB integration at the window openings — this needs to be a coordinated handoff, not assumed by either trade.
- Get the flashing sequence in writing or confirmed verbally before the crew starts, especially if multiple trades are touching the same wall.
- Schedule a walk-through before siding goes on, while flashing and pan details are still visible and correctable.
Why a Crew That Already Works Sehome Makes a Difference
Window performance in this climate comes down to details that don't show up on a spec sheet: how a sill pan is sloped, what flashing sequence is used on a west-facing wall that takes the brunt of a winter storm, and which fastener and flashing combinations hold up instead of corroding near salt air. A crew that has installed windows across Bellingham and Whatcom County season after season has already seen how these details play out over years, not just on install day — which openings tend to take the worst weather, what actually causes callbacks locally, and how to build in margin against Bellingham's long moss season before it ever becomes a problem. That's a different starting point than a crew installing windows here for the first time.
If you're planning a new build or major addition in Sehome, we're happy to walk the plans with you, talk through window material and flashing approach for your specific exposure, and give you a straightforward, no-pressure estimate. Use the form below to get started.