 Bellingham
 Building New on South Hill Means Getting the Windows Right the First Time
New construction gives you one real chance to install windows correctly. Once the siding goes on and the walls are closed up, the flashing details behind the trim are hidden for good — for better or worse. On South Hill, where homes sit up in the wind and the weather off Bellingham Bay doesn't hold back, that first-pass install matters more than it does in a lot of neighborhoods. A window that's flashed and sealed properly here will handle decades of wind-driven rain without complaint. One that isn't will start showing problems — staining, soft trim, drafts — well before the rest of the house does.
This page is about that one job: installing new-construction windows correctly on a South Hill build, in a climate that includes salt-laden air, long stretches of driving rain, and a moss season that lingers on shaded, damp surfaces for much of the year.
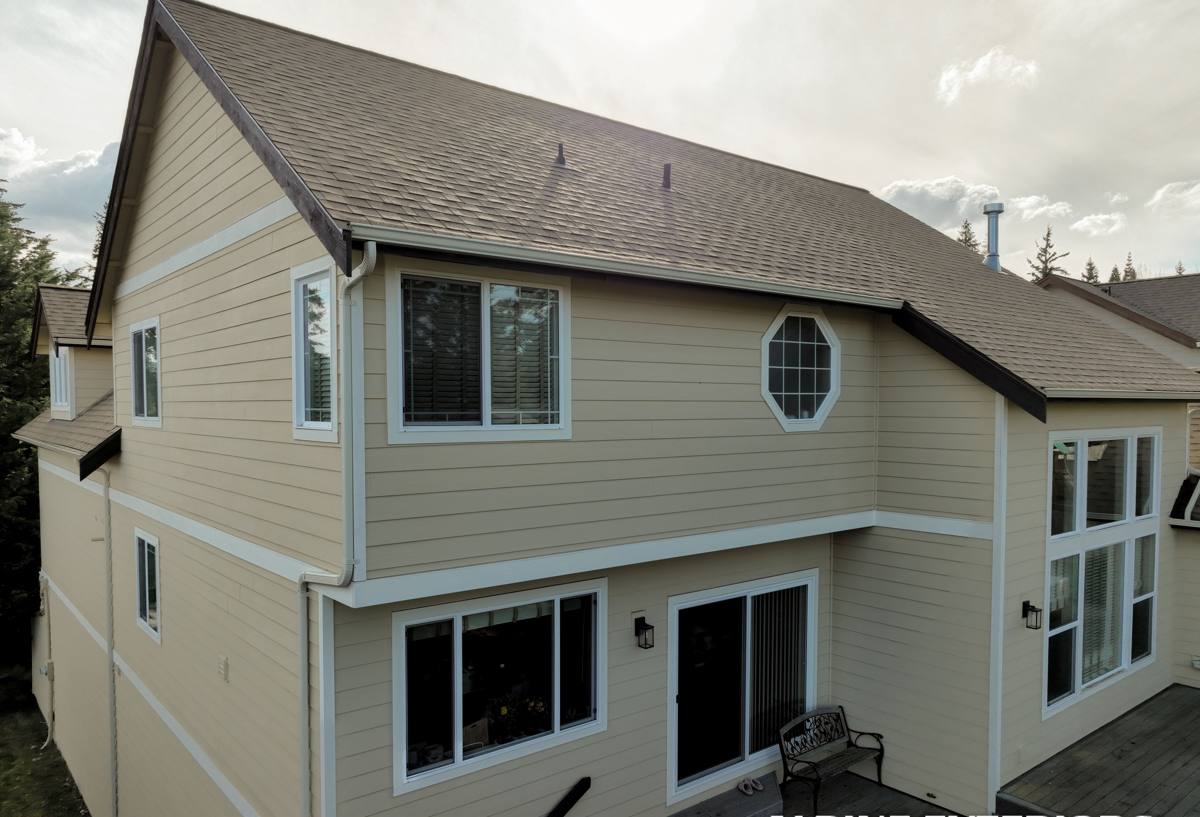
New-Construction vs. Replacement: Why the Install Method Matters
"New-construction" windows aren't a style or a grade of window — they're defined by how they attach to the framing. These units have a nailing fin (also called a nailing flange) around the perimeter that gets fastened directly to the sheathing before the weather-resistive barrier and siding go over it. That's different from a replacement or pocket window, which gets inserted into an existing, already-finished opening with no fin to tie into the wall assembly.
The Nailing Fin Advantage
Because the fin is fastened to the sheathing and then integrated into the drainage plane, a new-construction window becomes part of the wall's water-management system rather than sitting inside it. Done right, water that reaches the wall behind the siding is directed down and out and around the window opening, not into it.
One Shot at the Flashing Sequence
The trade-off is that there's no going back to fix a mistake without tearing into finished walls. The sill pan, the flashing tape, the house wrap shingling, the head flashing — all of it has to be sequenced correctly before the siding crew ever shows up. On a South Hill build, that sequencing is the whole ballgame.
What South Hill's Climate Actually Asks of a Window Install
South Hill sits up above much of the surrounding city, with more direct wind exposure on some elevations and more mature tree canopy and shade on others. That combination creates a few specific demands on a window installation that a flatter, more sheltered lot wouldn't face in the same way.
- Driving rain: Wind off the bay pushes rain sideways into wall assemblies, not just straight down. Flashing details that rely on gravity alone aren't enough — every lap and seal needs to shed water even when it's coming in at an angle.
- Salt air: Being close to Bellingham Bay means airborne salt reaches fasteners, hardware, and unprotected metal over time. Corrosion-resistant fasteners and hardware aren't optional upgrades here — they're standard practice.
- Moss season: Whatcom County's damp, shaded stretches of the year let moss and algae take hold on north-facing walls and anywhere airflow is limited. Around windows, that means trim details and sealant choices need to tolerate sustained moisture rather than just shed it quickly.
None of this means South Hill is an unusually hard place to build. It means the standard details — sill pans, flashing tape, sealant, fastener spec — need to be followed with no shortcuts, because the climate doesn't forgive the ones that get skipped.
The Anatomy of a Correct New-Construction Window Install
A properly installed new-construction window follows a specific order of operations. Skipping a step, or doing them out of sequence, is how leaks happen years later even though the window itself is fine.
- Rough opening is checked for square, level, and correct size before the window ever shows up on site.
- A sloped sill pan is formed at the bottom of the opening so any water that gets past the window has somewhere to go — out, not into the wall.
- Self-adhered flashing tape is applied at the jambs and sill, lapped in the correct shingle-style order so water always moves downward over the next layer, never under it.
- The window is set, shimmed level and plumb, and fastened through the nailing fin per the manufacturer's schedule.
- Head flashing goes on last at the top, lapped over the housewrap so it directs water out over the window rather than behind it.
- Interior and exterior sealant is applied at the correct points only — sealing everything solid, including the bottom, traps water instead of letting it drain.
That last point trips up a lot of DIY and inexperienced installs: more sealant is not always better. A window sill that's fully sealed with no weep path can hold water against the frame instead of shedding it.
Choosing a Frame Material for This Climate
Builders and homeowners often ask which window frame material makes the most sense for a coastal, damp Pacific Northwest climate. There's no single right answer — it depends on budget, maintenance appetite, and how the window will be used — but the trade-offs are worth laying out plainly.
| Frame Material | Moisture & Salt-Air Behavior | Maintenance | Best Fit |
|---|---|---|---|
| Vinyl | Won't corrode or rot; performance depends on quality of the extrusion and weld | Low — occasional cleaning | Budget-conscious builds, rental or spec homes |
| Fiberglass | Very stable in wet, temperature-swinging climates; resists warping | Low | Owners who want longevity without upkeep |
| Wood interior / aluminum- or fiberglass-clad exterior | Good exterior weather resistance if cladding and seams are intact; wood interior needs the exterior seal to hold | Moderate — depends on maintaining the exterior seal | Homeowners who want a wood interior look with better outdoor durability |
| Solid wood | Attractive but most exposed to driving rain and moisture over time | High — regular refinishing needed | Sheltered elevations or homeowners committed to upkeep |
We're straightforward with builders and homeowners about this: on exposed South Hill elevations, we steer people toward materials that don't depend on paint or finish upkeep to stay weathertight. That's a maintenance conversation, not a knock on any one product — it's about matching the material to how much upkeep the site's exposure will actually demand.
Our Process, From Rough Opening to Final Walkthrough
On a new-construction job, we coordinate directly with the builder or general contractor so window installation lines up with the framing and weather-barrier schedule instead of working around it.
Before the Windows Arrive
We check rough openings against the window schedule and flag any framing issues — out-of-square openings, incorrect sizing — before they become an install-day problem.
During Install
Each window gets the full flashing sequence: sill pan, jamb tape, window set and shimmed, head flashing, and sealant only where it belongs. We don't batch-install a whole house of windows without checking each opening on its own terms — framing settles and shifts opening to opening, even on a brand-new build.
After Install
We check operation — smooth opening and closing, tight locking, no binding — and confirm exterior details are ready for the siding crew to work around cleanly. A final walkthrough with the builder or homeowner catches anything before the walls close up.
Why a Crew That Already Works South Hill Matters
South Hill has its own mix of lot conditions — sloped sites, mature trees close to structures, and elevation exposure that varies block to block more than people expect. A crew that's worked the neighborhood already knows to expect tight or sloped access on some lots, plans material staging accordingly, and has a feel for which elevations of a build will take the brunt of the weather versus which ones sit more sheltered.
That familiarity doesn't replace following the manufacturer's install specs — it means fewer surprises on site, less back-and-forth with the builder's schedule, and a crew that isn't learning the neighborhood's quirks on your project.
A Practical Checklist for Builders and Homeowners
Whether you're a homeowner overseeing a build or a general contractor bringing in a window sub, these are worth confirming before install day:
- Rough openings have been checked for square and correct size against the window schedule.
- A sloped sill pan is part of the install plan at every opening, not just the ones facing the weather.
- Flashing tape and housewrap integration follow shingle-style lapping — always water-shedding, never trapping.
- Fasteners and visible hardware are corrosion-resistant, appropriate for a coastal climate.
- Sealant is applied at jambs and head, with the sill left able to drain.
- Frame material has been chosen with the specific elevation's sun, shade, and wind exposure in mind.
- Someone is checking each window's operation before the siding crew closes up the wall behind it.
If you're planning a new build on South Hill, or working with a builder who needs a window sub who already understands how this neighborhood's weather behaves, we're glad to take a look at the plans and walk the site. Reach out for a free, no-pressure estimate using the form below.